The Limits of Defishing Fisheye Videos You Need to Know
For GoPro users, it is pretty easy to capture video with fisheye lens distortion being removed directly, if the linear FOV mode is enabled, which offers software-level correction to GoPro fisheye distortion. However, you have to understand this mode only works with 2.7k and full HD 1080p video with frame rates at 60fps or below. If you want to render your 4K 2160p video footages with a fisheye and give a rectilinear result without bends or curves, you will need to do some post production.
Shutterbugs are not strange with the professional video editors like Adobe Premier, which are available to fix fisheye effect, stabilize shaky video and more professionally. But they may be backed down either for the complicated user interface or the unsatisfactory performances such as lagging or freezing in editing and processing huge 4K UHD videos.
For a professional-level yet easy-to-operation fisheye distortion correction, VideoProc comes to save your life. It is born to be the strongest video processing software with the easiest-to-use video editing features. Fully supporting Intel/Nvidia/AMD hardware acceleration techs, the software manages to process videos with a resolution of up to 4K,8K, at ultra-fast speed, while maintaining the highest possible quality. It is able to denoise and stabilize shaky video, correct fisheye distortion, enhance video quality, and do other editing for videos, especially the large (4K) files, without stuttering, crashing, or overheating your computer.
[Step-by-Step Guide] How to Correct Fisheye Lens Distortion from 4K/HD Videos
Prior to the detailed steps, you will need to download the software for lens distortion correction
Step 1: Load the fisheye video footage.
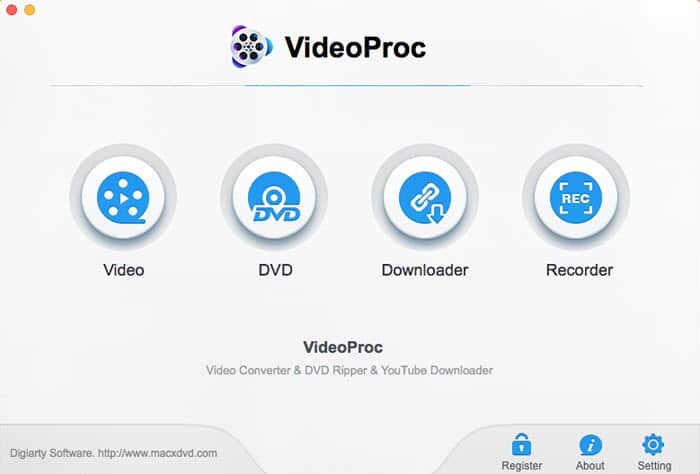
Launch the lens distortion correction software and click "Video" that's available on the main interface to fire off the video converting and editing options. Tap "+Video" button to load the source video with fisheye effect. Or you can simply drag and drop the file into the Window. It supports to correct fisheye barrel/pincushion distortion from gopro videos, action cams and other wide angle lenses.

Step 2: Enable Fisheye Correction Feature
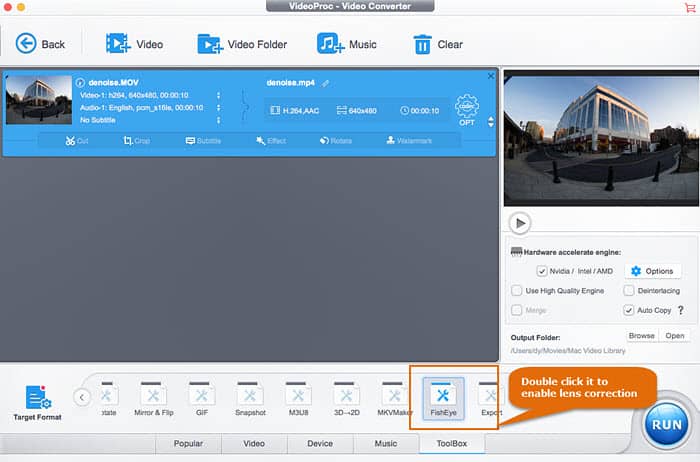
Go to ToolBox at the bottom of the interface -> click Fisheye to enable Lens Correction option, where you can set the fractions of the video image width and height to straighten the distorted lines and curves of the fisheye video horizontally and vertically by moving the sliders of cx and cy, and adjust the coefficients of the (double) quadratic correction in k1 and k2, so as to correct the distortion of the video from the preview window on the left side. Plus, the basic video trimming feature is available under the preview window for you to retain your favorite part only. And click Done to finish the fisheye correction.

[Optional] Step 3: Choose Output Format
Go to Video or Device at the bottom of the main interface to choose a target video format for the fisheye video. You can convert the fisheye video to MP4, MKV, MOV, or directly transfer it to the format, resolution, codec, aspect ratio, etc that are well recognized by YouTube, Facebook, or your iPhone, iPad, Samsung, Huawei, TV, etc from the ready-made device profiles without needing to know the obscure parameters.
Step 4: Click RUN
Tap the RUN button to begin to correct fisheye distortion and transform the bulging fisheye video into a more normal perspective.


